 ดูบน TensorFlow.org ดูบน TensorFlow.org |  ทำงานใน Google Colab ทำงานใน Google Colab |  ดูแหล่งที่มาบน GitHub ดูแหล่งที่มาบน GitHub |  ดาวน์โหลดโน๊ตบุ๊ค ดาวน์โหลดโน๊ตบุ๊ค |
ภาพรวม
สมุดบันทึกนี้จะสาธิตวิธีใช้การทำงานของรูปภาพใน TensorFlow Addons
นี่คือรายการการทำงานของรูปภาพที่คุณจะกล่าวถึงในตัวอย่างนี้:
ติดตั้ง
pip install -q -U tensorflow-addons
import tensorflow as tf
import numpy as np
import tensorflow_addons as tfa
import matplotlib.pyplot as plt
เตรียมและตรวจสอบภาพ
ดาวน์โหลดภาพ
img_path = tf.keras.utils.get_file('tensorflow.png','https://tensorflow.org/images/tf_logo.png')
Downloading data from https://tensorflow.org/images/tf_logo.png
40960/39781 [==============================] - 0s 3us/step
ตรวจสอบภาพ
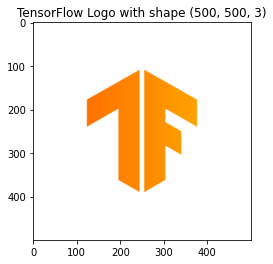
ไอคอน TensorFlow
img_raw = tf.io.read_file(img_path)
img = tf.io.decode_image(img_raw)
img = tf.image.convert_image_dtype(img, tf.float32)
img = tf.image.resize(img, [500,500])

plt.title("TensorFlow Logo with shape {}".format(img.shape))
_ = plt.imshow(img)
ทำเป็นเวอร์ชั่นขาวดำ
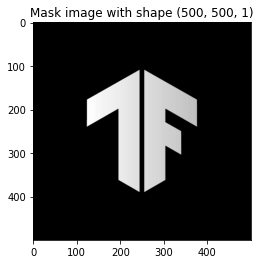
bw_img = 1.0 - tf.image.rgb_to_grayscale(img)

plt.title("Mask image with shape {}".format(bw_img.shape))
_ = plt.imshow(bw_img[...,0], cmap='gray')
เล่นกับ tfa.image
หมายถึงการกรอง
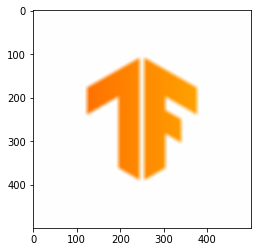
การกรองแบบเฉลี่ยเป็นเทคนิคการกรอง ซึ่งมักใช้เพื่อขจัดสัญญาณรบกวนออกจากภาพหรือสัญญาณ แนวคิดคือการเรียกใช้ผ่านพิกเซลของภาพทีละพิกเซลและแทนที่ด้วยค่าเฉลี่ยของพิกเซลที่อยู่ใกล้เคียง
mean = tfa.image.mean_filter2d(img, filter_shape=11)
_ = plt.imshow(mean)
หมุน
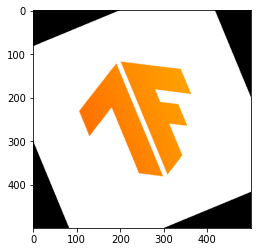
การดำเนินการนี้จะหมุนรูปภาพที่กำหนดโดยผู้ใช้ป้อนมุม (เป็นเรเดียน)
rotate = tfa.image.rotate(img, tf.constant(np.pi/8))
_ = plt.imshow(rotate)
แปลง
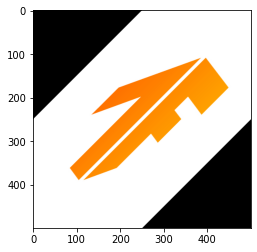
การดำเนินการนี้แปลงรูปภาพที่กำหนดบนพื้นฐานของเวกเตอร์การแปลงที่กำหนดโดยผู้ใช้
transform = tfa.image.transform(img, [1.0, 1.0, -250, 0.0, 1.0, 0.0, 0.0, 0.0])
_ = plt.imshow(transform)
HSV สุ่มใน YIQ
การดำเนินการนี้จะเปลี่ยนมาตราส่วนของสีของภาพ RGB ที่กำหนดเป็น YIQ แต่ค่าสีเดลต้าและความอิ่มตัวของสีจะถูกสุ่มเลือกจากช่วงที่กำหนด
delta = 0.5
lower_saturation = 0.1
upper_saturation = 0.9
lower_value = 0.2
upper_value = 0.8
rand_hsvinyiq = tfa.image.random_hsv_in_yiq(img, delta, lower_saturation, upper_saturation, lower_value, upper_value)
_ = plt.imshow(rand_hsvinyiq)

ปรับ HSV ใน YIQ
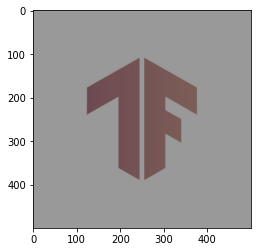
การดำเนินการนี้จะเปลี่ยนมาตราส่วนสีของภาพ RGB ที่กำหนดเป็น YIQ แต่ที่นี่แทนที่จะเลือกแบบสุ่ม ค่าสีเดลต้าและความอิ่มตัวของสีเป็นอินพุตจากผู้ใช้
delta = 0.5
saturation = 0.3
value = 0.6
adj_hsvinyiq = tfa.image.adjust_hsv_in_yiq(img, delta, saturation, value)
_ = plt.imshow(adj_hsvinyiq)
ภาพหนาแน่น Warp
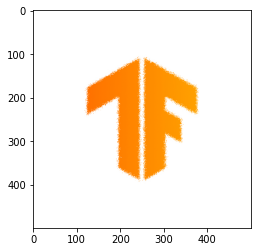
การดำเนินการนี้มีไว้สำหรับการบิดงอที่ไม่เป็นเชิงเส้นของรูปภาพใดๆ ที่ระบุโดยฟิลด์โฟลว์ของเวกเตอร์ออฟเซ็ต (ในที่นี้ ใช้ค่าสุ่มเป็นตัวอย่าง)
input_img = tf.image.convert_image_dtype(tf.expand_dims(img, 0), tf.dtypes.float32)

flow_shape = [1, input_img.shape[1], input_img.shape[2], 2]
init_flows = np.float32(np.random.normal(size=flow_shape) * 2.0)
dense_img_warp = tfa.image.dense_image_warp(input_img, init_flows)
dense_img_warp = tf.squeeze(dense_img_warp, 0)
_ = plt.imshow(dense_img_warp)
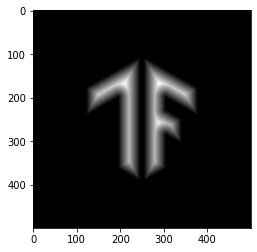
การแปลงระยะทางแบบยุคลิเดียน
การดำเนินการนี้จะอัปเดตค่าพิกเซลด้วยระยะห่างแบบยุคลิเดียจากพิกเซลเบื้องหน้าไปยังเบื้องหลัง
- หมายเหตุ : ใช้เฉพาะภาพไบนารีและส่งผลให้ภาพที่แปลงแล้ว หากให้รูปภาพอื่น ให้ผลลัพธ์เป็นรูปภาพที่มีค่าเดียว
gray = tf.image.convert_image_dtype(bw_img,tf.uint8)
# The op expects a batch of images, so add a batch dimension
gray = tf.expand_dims(gray, 0)
eucid = tfa.image.euclidean_dist_transform(gray)
eucid = tf.squeeze(eucid, (0, -1))
_ = plt.imshow(eucid, cmap='gray')
